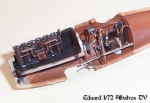
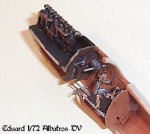
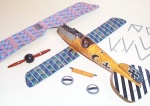
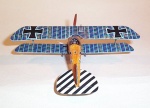
Progress report - fuselage closed and bottom wing attached. Upper lozenge
has been laid down, just starting rib tapes - lozenge decals are Pegasus (very
nice to work with). The wood panelling was prepared using the following method:
Base coat of Humbrol 148.
Several panels were masked and painted different shades, but I did this
in too subtle a manner to be noticed once all the top coats were on.
Once dry, wood grain was applied using the "smear" method. Get a wash
of burnt umber/burnt sienna artists acrylic, put on heavily then rub off
with finger or cotton bud. Then use a damp chisel brush to refine the grain
effect until it "looks right." This was my first attempt at this method
and it didn't turn out too bad.
Panel lines were enhanced with a watercolour pencil.
A top coat consisting of 3 parts Tamiya Clear Yellow acrylic and 1 part
Tamiya Clear Orange acrylic was then applied to give the deep golden yellow
colour to the wooden fuselage. This worked well, but at this point I realised
I had painted the interior in too dark a wood colour. However, I was not
about to open it up and change it!
The fuselage does not have its final semi-gloss varnish coat applied yet,
which is why it all looks a bit shiny.
This is how far I got by September 30th (the supposed deadline).
All components are painted and varnished, ready for final assembly and rigging.
Top wing is lozenged on the underside, but top side is left plain. Lozenge
decals will be added after the top wing is attached and all rigging completed.


